Step-by-Step Guides
Laying our EPDM rubber roofs is an easy task for the accomplished DIY-er. Below we outline the various steps required to install your brand new rubber roof.
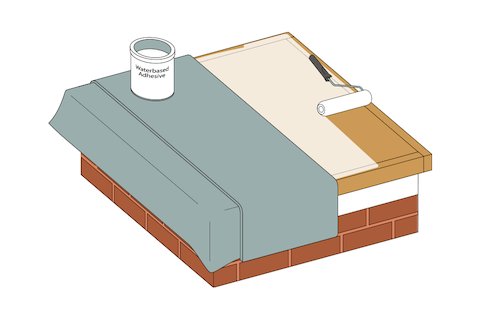
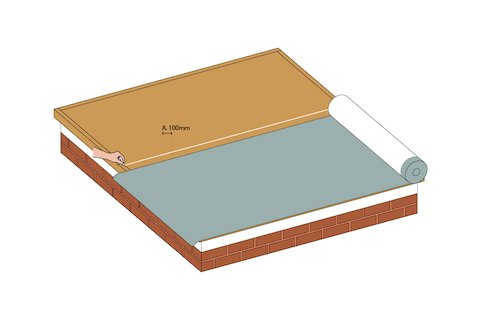
Laying Membrane
Step by step guide on laying our Techno EPDM to your next rubber roofing project.
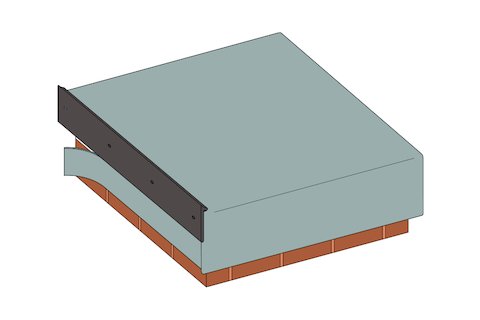
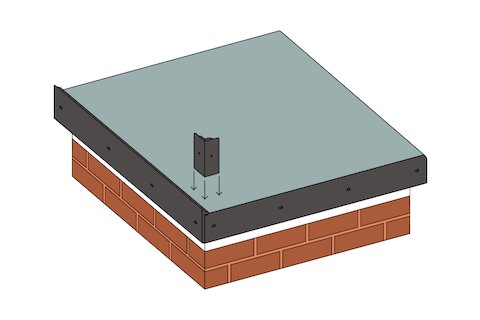
Edge Trims
Step by step guide on installing Rubber Roofing edge-trims to your next EPDM Roofing project.
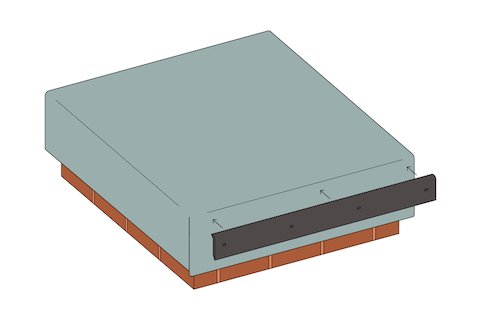
Gutter Trim
Step by step guide on installing gutter-trims to your next EPDM Roofing project.
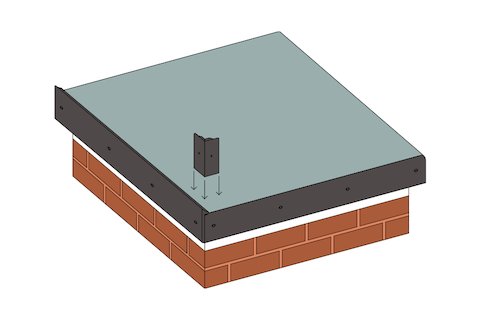
External Edge Corner
Step by step guide on installing external edge corner trims to your next EPDM Roofing project.
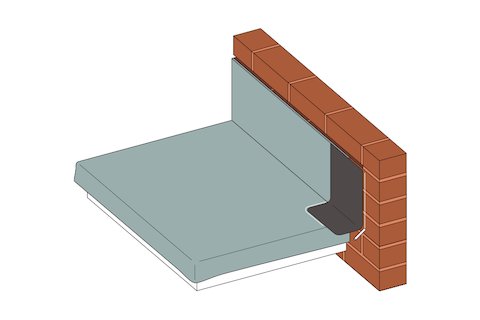
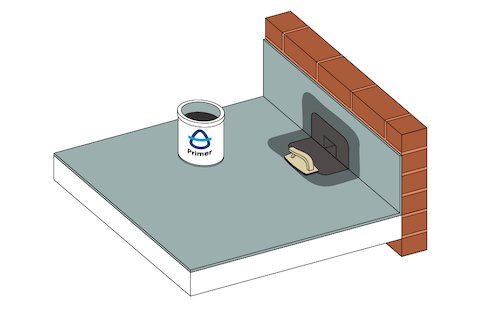
Wall Trim Flashing
Step by step guide on installing wall-trim flashing to your next EPDM Roofing project.
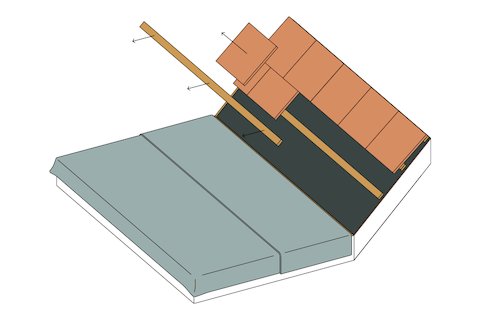
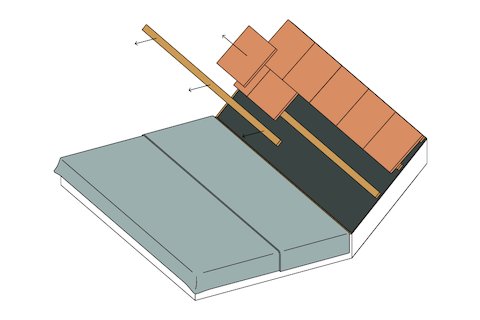
Under Tiles
Step by step guide on installing our Techno EPDM membrane under tiles/sales for your next rubber roofing project.
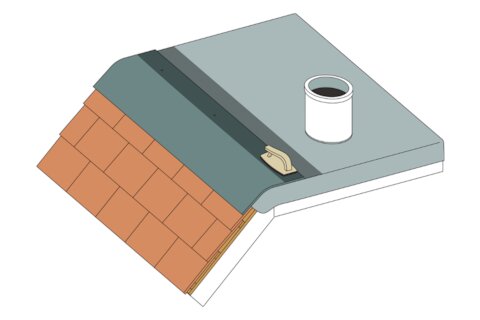
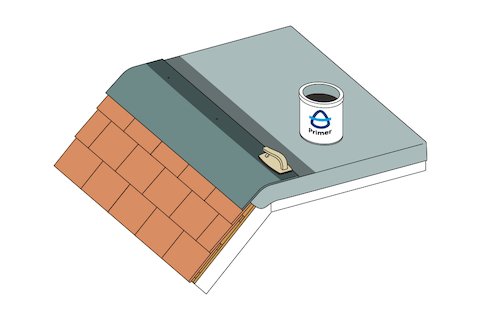
Onto Tiles
Step by step guide on installation EPDM membrane onto tiles. Installation videos & step-by-step guides for full installation available.
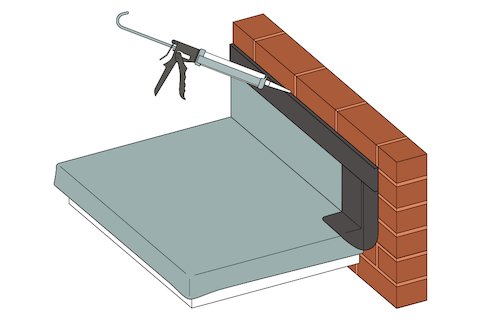
Wall Trim Flashing
A guide to installing a wall trim flashing.
External Corner (Skylight / Upstand)
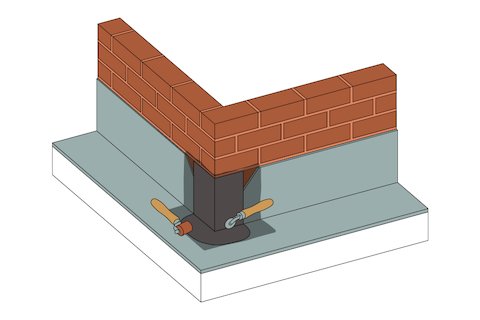
Step by step guide on installing an external corner skylight to your next EPDM Roofing project.
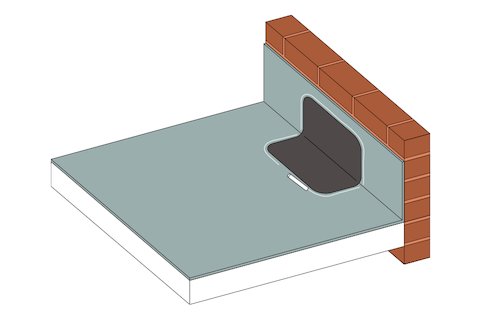
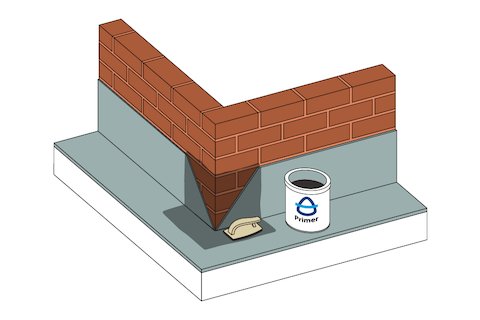
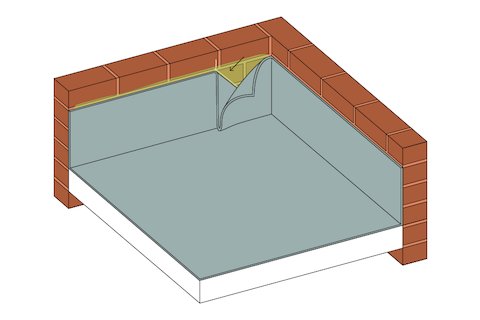
Internal Corner
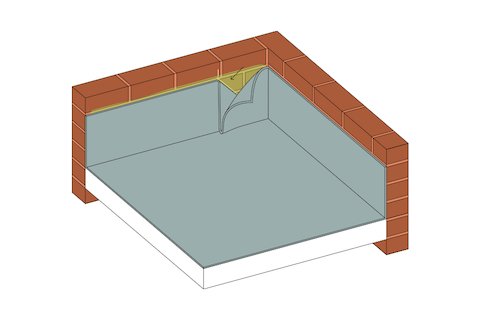
Step by step guide on installing an internal corner to your next rubber roofing project.
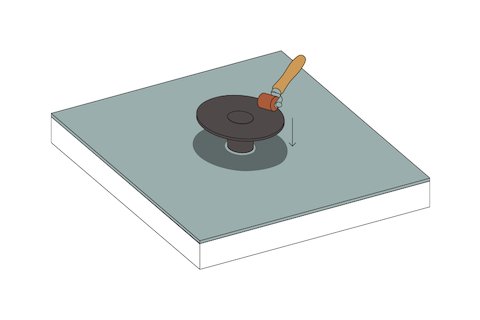
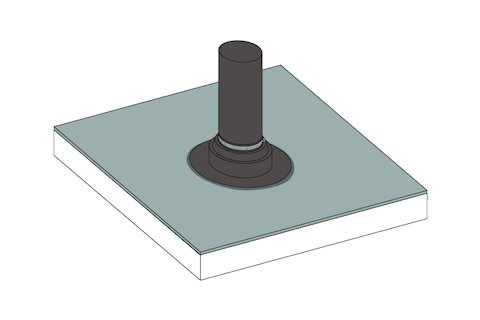
Pipeseal
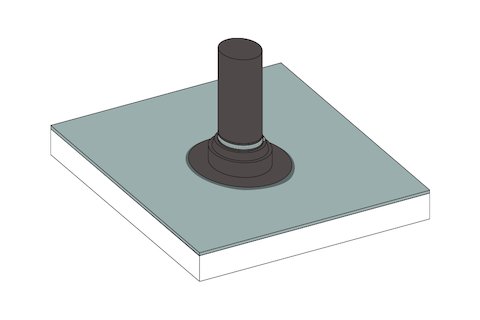
Step by step guide on installing a pipeseal to your next EPDM Roofing project.
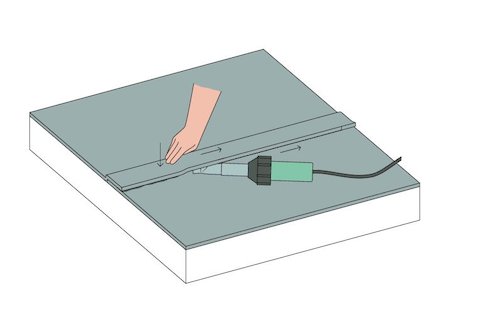
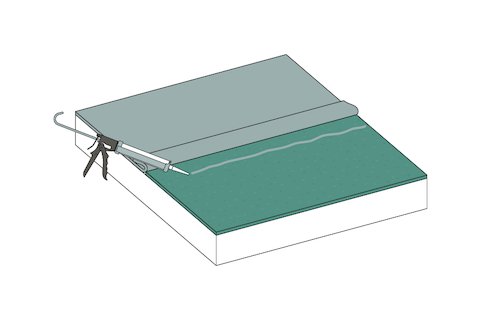
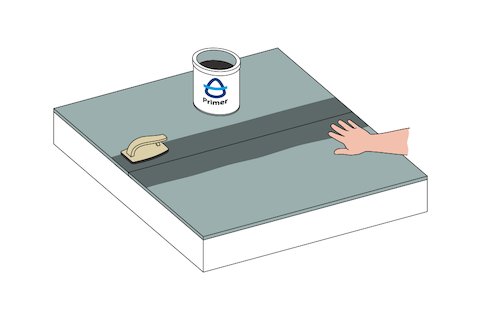
Seam / Join
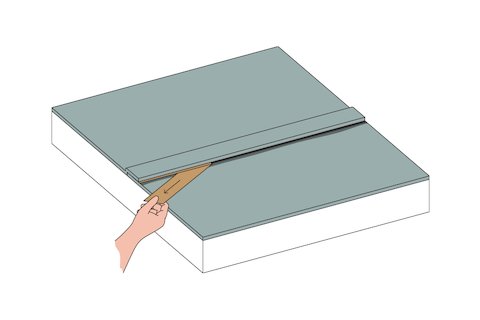
Step by step guide on creating a seam join after splicing two or more pieces of Techo EPDM membrane.
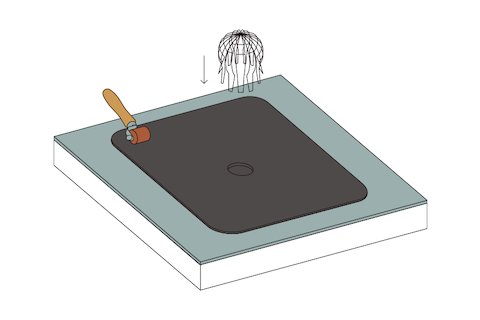
Horizontal Rainwater Outlet
Step by step guide on installing a horizontal rainwater outlet to your next rubber roofing project.
Lineflex Heat Weld
A guide to heat welding Lineflex Fleece Backed EPDM joins.
Laying Lineflex
A guide to laying Lineflex Fleece Backed EPDM membrane.
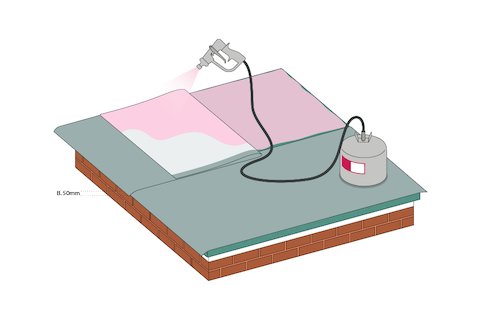
Laying Lineflex With Spray Adhesive
A guide to laying Lineflex Fleece Backed EPDM membrane using spray contact adhesive.
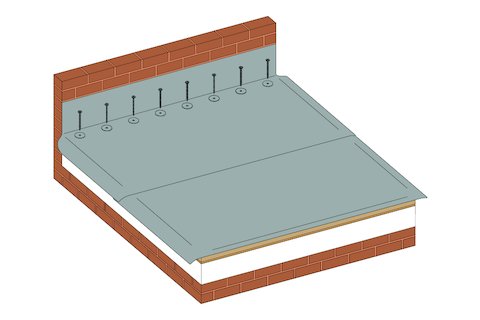
Laying Lineflex With Mechanical Fixings
A guide to laying Lineflex Fleece Backed EPDM membrane with mechanical fixings.
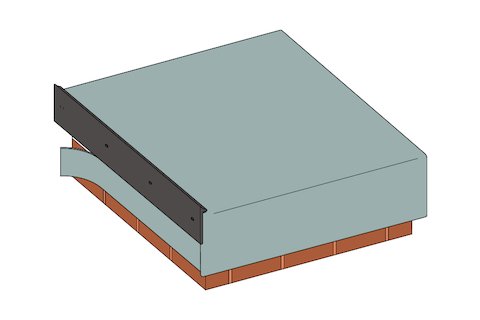
Edge Trim
A guide to installing edge trims to a Lineflex Fleece Backed EPDM flat roof.
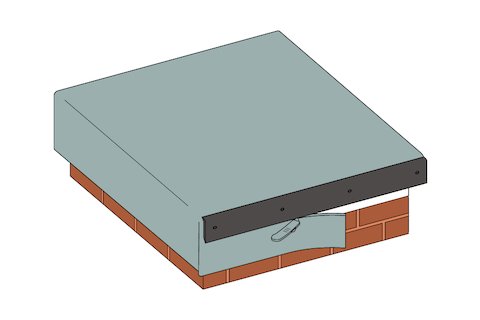
Gutter Trim
A guide to installing gutter trims to a Lineflex Fleece Backed EPDM flat roof.
External Edge Corner
lineflex-external-edge-corner
Under Tiles
A guide to installing Lineflex Fleece Backed EPDM membrane under tiles.
Onto Tiles
A guide to installing Lineflex Fleece Backed EPDM membrane onto tiles.
External Corner
A guide to installing an external corner.
Internal Corner
A guide to installing an internal corner.
Pipe Seal
A guide to installing a pipeseal.
Felt Join
A guide to joining Lineflex Fleece Backed EPDM membrane to a felt roof.
Butt Join
A guide to butting two pieces of adjoining Lineflex Fleece Backed EPDM membranes.
Rainwater Outlet
A guide to installing a rainwater outlet.
Horizontal Rainwater Outlet
A guide to installing a horizontal rainwater outlet.


